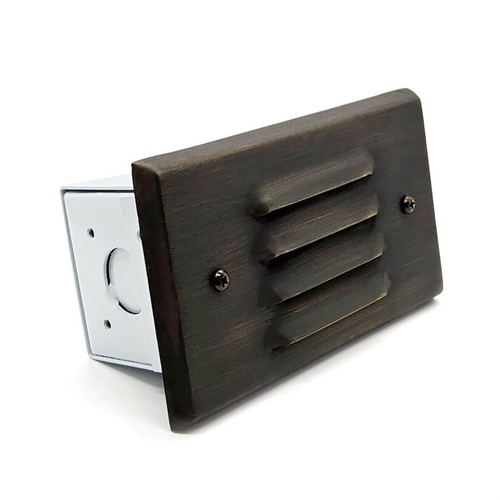
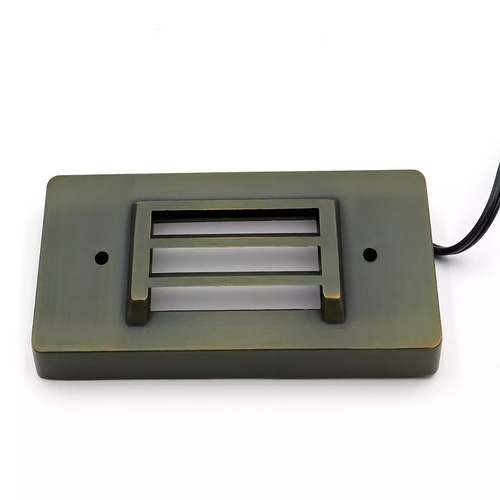
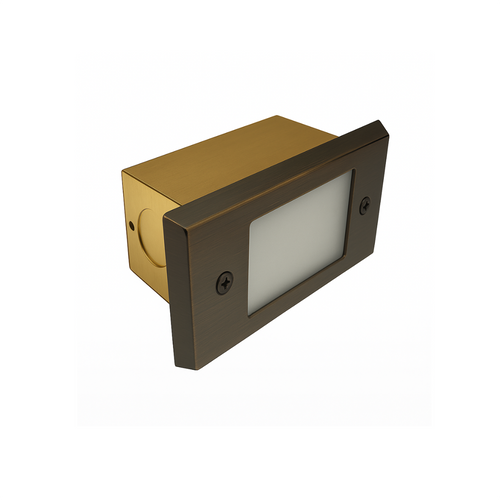
You have two options for steps that are already poured: core-drill the riser for a recessed step light, or mount a low-profile light on the face of the riser and drill only a small hole for the cable. Run 12V cable along the side of the stair, use stainless anchors, and seal every hole.
Two ways to light existing steps
Most step lights are installed before the concrete is poured. If your stair is already built, you are not stuck with a dark entry; you just choose a different method.
| Recessed (cored) | Face-mounted | |
|---|---|---|
| Look | Flush with the riser, the cleanest result | Sits slightly proud of the riser |
| Work | Core drill or rented saw, more dust | Hammer drill and a small bit |
| Time | About an hour per light | About 15–20 minutes per light |
| Best for | Thick risers, long-term projects | Thin risers, quick upgrades, renters |
Not sure where to place the lights? Start with our main guide, Outdoor Step Lights for Concrete Stairs: low on every other riser, plus the first and last step.
Chapter 02Tools and materials
- Hammer drill with masonry bits; a core bit or rented core drill for recessed housings
- Concrete anchors and stainless screws (never plain steel next to brass)
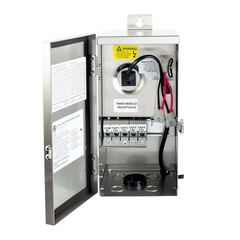
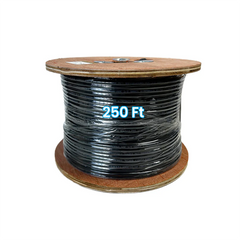
- 12V step lights, a low-voltage transformer and direct-burial cable
- Waterproof wire connectors
- Exterior masonry sealant or concrete patch
- Safety glasses, dust mask and a shop vac
Recessed install, step by step
- Mark the opening. Use the template or the housing itself, centered on the riser and low enough that the light falls on the tread below.
- Cut the hole. Core-drill or cut the outline and chip out the center to the depth of the housing. Go slowly near the edges so the face does not spall.
- Route the cable. Drill from the back of the opening out to the side of the stair, or cut a shallow channel along the side wall to bring the cable in.
- Set the housing. Bed it in mortar or masonry adhesive so it sits flush and level.
- Connect and close. Join the fixture lead to the 12V cable with a waterproof connector, fit the faceplate, and seal around the edge.
Face-mounted install, step by step
- Hold the fixture in place and mark the two mounting holes and the cable hole.
- Drill the cable hole through the riser, or angle it out to the side of the stair where the cable will run.
- Drill and anchor the mounting holes.
- Feed the cable, make the connection with a waterproof connector, and screw the fixture down with stainless screws.
- Seal the cable hole from behind so water cannot track into the concrete.
Getting the wire to each light
The hardest part of a retrofit is not the light, it is the cable. Three ways to keep it out of sight:
- Along the side of the stair. Bury the cable in the planting bed next to the steps and drill into each riser from the side.
- A saw-cut channel. Cut a narrow groove up the side wall, lay the cable in it, and fill with concrete patch or flexible sealant.
- Under a cap or coping. If the stair has side walls with a cap, the cable can often run underneath it.
Before you core anything, check for rebar and for existing pipes or conduit in the stair. Drill a small pilot hole first, and stop if you hit steel.
Power and wire
A typical stair uses 4–8 step lights. At around 2–5W each, even eight lights stay under 40W, so 40W × 1.3 = 52W and a 75W transformer is enough. If the steps share a transformer with path lights or spotlights, add those watts too. For runs over about 100 ft, use 12/2 cable; see the wire gauge guide or use the transformer calculator.
Questions we hear most
Can you install step lights in existing concrete steps?
Yes. Core-drill the riser for a recessed light, or mount a low-profile light on the face and drill only a small hole for the cable.
Do I need an electrician to add step lights to concrete stairs?
Not for a 12V low-voltage system. The transformer plugs into an outdoor GFCI outlet, and the low-voltage cable is safe to handle. Line-voltage (120V) step lights do need an electrician.
How do you run wire to step lights on existing concrete?
Run the cable through the planting bed beside the stair and drill into each riser from the side, or cut a narrow channel in the side wall and patch over the cable.
How long does it take to add step lights to existing steps?
Plan on about 15–20 minutes per light for face-mounted fixtures and about an hour per light for recessed ones, plus time to run the cable.
Can I add step lights without drilling?
Wired step lights need at least one small hole for the cable. Solar or adhesive lights avoid drilling but give much less light and need replacing sooner.